Purchased a TAILFIN T1 carbon rack to use on my commutes and tours.
First thing I have to say is....wow! This thing looks sleek, and simple. Quality and feel are very nice as well.
But how well does it work?
Step 1: Unboxing
Package shipped out quickly from the U.K after purchase. Took about 1.5 weeks to get to me in California. Adequate protection in the box.
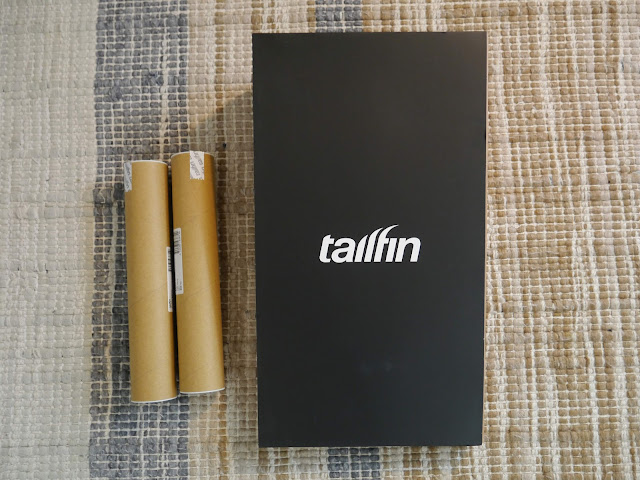 |
| Packaged very nicely. Inside the brown tubes are the booster bars to accomodate non-Tailfin panniers. |
 |
| The above mentioned booster bars. Easy to attach with just a 4mm key. |
 |
| The Tailfin itself. Comes with a removable fender. Very neat! |
 |
Possibly the most important piece...the axle. The rack attaches to this specially designed quick release. Thru axle versions are available as well.
|
Step 2: Install
Installation is quick and painless. Just change your axle (quick release or thru) and mount the rack on it.
 |
| Super simple installation. After connecting to the quick release, the aluminum bar attaches to the seat post. |
 |
| Takes less than 1 minute to install. |
 |
| Doesn't look unsightly like a seat post rack. |
 |
| Rack attaching to the quick release. To remove, simply pull on that silver tab and vice versa to install. That will pull/push the locking pin on the racks dropout hinge. You can screw in TORX key safety screws on the the other side for theft prevention (included) |
 |
Booster bars installed with a 4 mm key. The fender requires no tools.
|
Step 3: Bags
I opted out of buying the TAILFIN branded pannier bags because I already had a pair of Axiom Seymour ones. Like the installation of the rack, putting the bags was extremely easy. One little slip up on the lower clip of the bag clipping onto the rack leg, but I think that may be because of the bag design.
 |
| Not bad looking. |
 |
| Much better than a seat post mounted rack, where the load was always placed much higher and smack over the center of the wheel. Turning feels much better with this. |
 |
| Ample room on the rack arms to fit many sizes of tires. |
 |
| Got the rack a little more centered after this photo. |
 |
| The Axiom Seymour bag clipping onto the booster bar of the TAILFIN. |
 |
As mentioned above, this was the only slippery part. I had to adjust the position of the clip quite a bit. I hope the rubber on the rack lasts long.
Step 4: Ride!
I've done 4 commutes with the rack so far. Feels wonderful! I can feel the added weight on the back of the bike (4 commutes = 1000 meters of climbing), but nothing is moving or rattling back there. Such great peace of mind! As mentioned before, turning feels great with the bags mounted on the sides and lower when compared to a seat post rack. As the only point of contact the rack makes with the bike is the axle and seat post, no chance of frame damage. The TAILFIN seatpost wrap connects safely and securely to my carbon post, and I don't see how it can damage it.
Last Thoughts:
I'm glad I purchased it. It is on the pricey side...but I think with the amount that I will use it, and the great convenience it adds to my commutes and tours on road bikes, it will pay for itself. I didn't make this purchase based on weight, but based on the design of the rack. It's what I've been looking for a few years now to get rid of that ugly seat post rack, and be able to use side pannier bags. Even if this was made of all aluminum I'd get it (would be cheaper....).
Can't wait to use on the upcoming rides in Hokkaido!
Check it out!
TAILFIN
|


Comments
Post a Comment